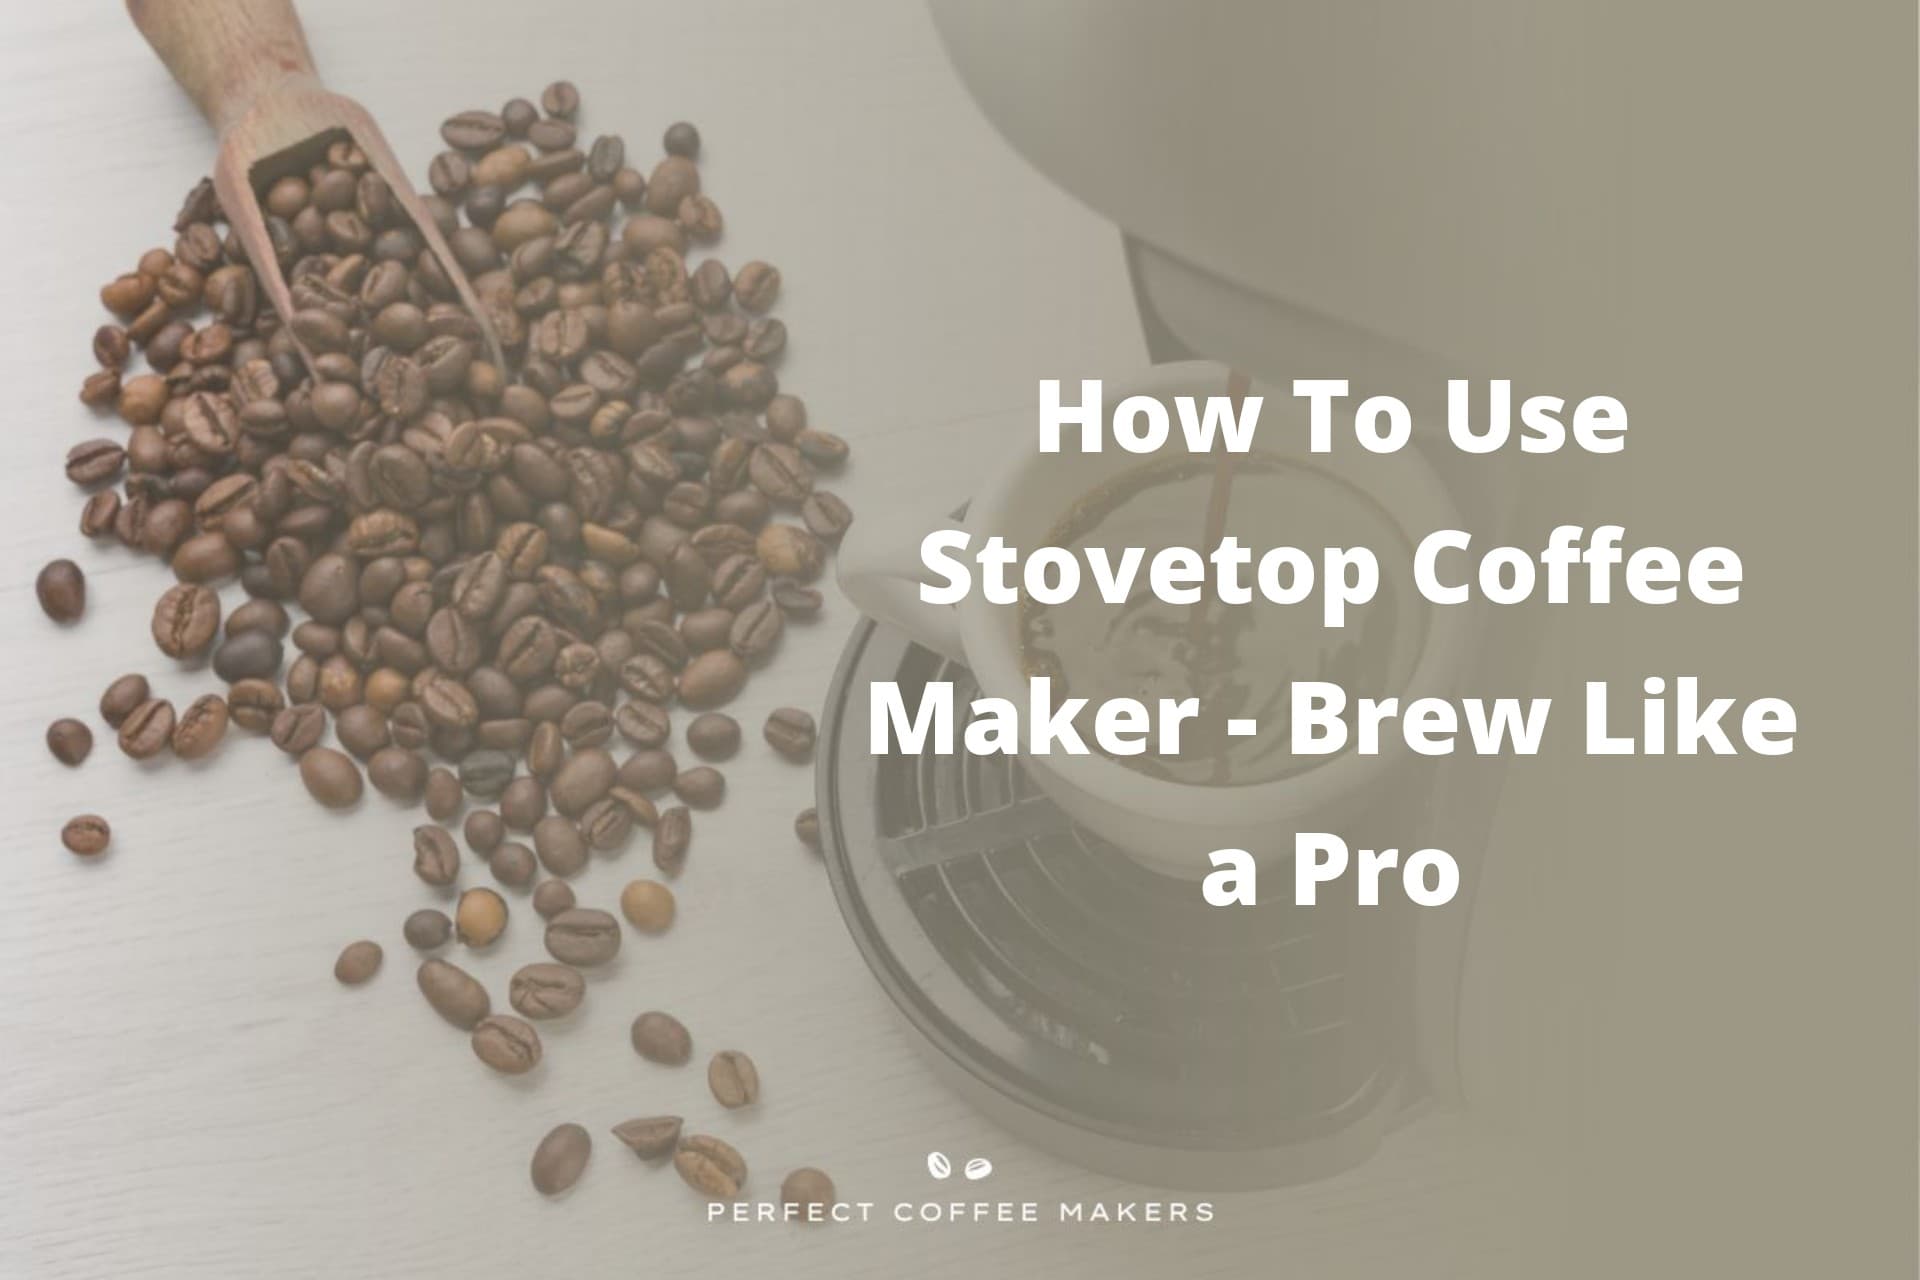
There’s a certain allure to making coffee the old-fashioned way, with its delightful aroma filling up your kitchen and the excitement of anticipation building up while you await that perfect brew. If you’ve just got your hands on this classic contraption but are unsure how to proceed, fret not. The following guide will walk you through the process.
Using a stovetop coffee maker, also known as a moka pot, is actually quite simple:
- Start by filling the bottom chamber with cold water up to the valve or a bit below
- Next, add your ground coffee to the filter basket without pressing it down, and place it into the bottom compartment
- Screw the top part of the moka pot onto the base. Put the coffee maker on a stove set to medium heat
- When the water in the bottom chamber boils, it will push a stream of coffee slowly and methodically through the upper chamber. Once you hear a hissing, bubbling sound, that means your coffee is ready. Remove it from the stove and serve
There are numerous tips and tricks that can help elevate your brewing game, from selecting the right grind size and coffee-water ratio to understanding the optimal heating level and brewing time. And let’s not forget about experimenting with different types of beans for an array of flavor profiles. Ready for more? Stay tuned as we go deeper into each aspect of using a stovetop coffee maker, ensuring you get that perfect cup of coffee every single time.
Understanding the Moka Pot: What is it?
The Moka pot, also known as a stovetop coffee maker, is a unique brewing device that allows you to make rich and flavorful espresso right on your stovetop. The stovetop espresso maker has gained popularity among coffee enthusiasts for its simplicity and ability to produce a strong cup of joe.
Unique Design and Functionality
The stovetop espresso maker, also known as the Moka pot, consists of three chambers: the water reservoir, coffee basket, and collection chamber. This distinctive design ensures that each element, including the moka coffee and stovetop espresso, plays a crucial role in the brewing process.
- Water Reservoir: The bottom chamber of the stovetop espresso Moka pot is where you pour cold water. When brewing stovetop espresso or moka coffee, it’s crucial not to overfill the pot beyond the safety valve to avoid accidents.
- Stovetop espresso Coffee Basket: Located above the water reservoir, this middle chamber holds finely ground coffee. Make sure not to pack the espresso or moka coffee too tightly as it may hinder proper extraction.
- Collection Chamber: Positioned at the top, this chamber collects the brewed espresso as it percolates through from the lower chambers.
Pressure Extraction for Flavorful Coffee
One of the key aspects that sets apart Moka pots from other brewing methods is their use of pressure to extract flavors from the espresso coffee grounds. As heat is applied to the espresso pot, steam builds up in the bottom chamber, creating pressure which forces hot water through the espresso grounds and into the collection chamber.
This process results in a strong and bold cup of coffee with an intense aroma and flavor profile reminiscent of espresso. While not exactly like traditional espresso, moka coffee offers its own unique characteristics that many people find appealing.
To ensure optimal results when using a Moka pot:
- Use freshly roasted beans for maximum flavor.
- Grind your beans just before brewing for freshness.
- Preheat your water before pouring it into the reservoir.
- Keep an eye on your espresso and moka coffee brew time to avoid over-extraction or burning.
Experiment with different espresso coffee beans, grind sizes, and brewing techniques to find the perfect balance and strength that suits your taste preferences.
Choosing the Right Coffee Grind for Your Moka Pot
Choosing the right grind is crucial for brewing espresso with a Moka pot. The grind size directly affects the taste and quality of your espresso.
Coarse Grind Recommended for Optimal Extraction
To achieve the best results with your stovetop coffee maker, it is generally recommended to use a coarse grind. The reason behind this lies in the extraction process. A coarse grind allows water to flow through the coffee grounds more easily, resulting in a balanced and flavorful cup of coffee.
With a Moka pot, water is heated in the lower chamber until steam pressure forces it through the ground coffee in the middle chamber and into the upper chamber. The coarser particles of moka coffee provide enough space for water to pass through without encountering excessive resistance. This ensures that flavors are extracted evenly and prevents over-extraction.
Avoid Using Fine or Espresso Grind
While some may be tempted to use a fine or espresso grind in their stovetop coffee maker, it’s important to understand the potential drawbacks. Fine grinds can lead to over-extraction because they increase surface area contact between water and coffee. This can result in bitter-tasting brews that lack balance.
Using fine grinds can cause clogging issues within your Moka pot’s filter system. The small particles have a higher chance of getting trapped and obstructing water flow. This can lead to uneven extraction and potentially ruin your brewing experience.
Experiment with Different Grinds
Finding your preferred taste when using a stovetop coffee maker involves experimentation with different grinds. While coarse grinds are generally recommended, personal preferences vary greatly.
Here are some options to consider:
- Medium grind: If you find that a coarse grind is too weak for your taste, try a medium grind. This can provide a balance between extraction and strength.
- Ground coffee size: Experiment with different brands of pre-ground coffee to determine which one suits your palate best. Some may prefer a finer grind from certain brands, while others may opt for coarser grinds.
- Filter type: The type of filter you use in your Moka pot can also influence the extraction process. For example, some filters have fine mesh screens that work better with finer grinds.
Remember, brewing coffee is an art, and everyone’s preferences are unique. Don’t be afraid to try various combinations until you discover the perfect balance of flavors that satisfies your taste buds.
Step-by-step Guide: How to Use a Stovetop Coffee Maker
Fill the bottom chamber with water up to the safety valve level.
To begin using your stovetop coffee maker, start by filling the bottom chamber with water. Make sure you fill it up to the level indicated by the safety valve. This is usually marked inside the chamber or mentioned in the user manual. It’s essential not to exceed this level as it can lead to overflow and potential accidents.
Insert the coffee basket and fill it with freshly ground coffee.
Once you have filled the bottom chamber with water, it’s time to insert the coffee basket. The coffee basket is typically located in between the two chambers of your stovetop coffee maker. Gently place it in its designated spot, ensuring that it fits securely.
Now comes the exciting part – filling the coffee basket with freshly ground coffee! You can choose any type of coffee beans you prefer, whether it’s a dark roast, medium roast, or even a flavored blend. Grind your beans to a medium-fine consistency for optimal results. Scoop enough grounds into the basket without overpacking it.
Screw on the top chamber tightly.
After you have added your desired amount of freshly ground coffee into the basket, it’s time to assemble your stovetop coffee maker by screwing on the top chamber tightly. Ensure that there are no gaps or loose parts; this will help maintain pressure during brewing and prevent any leaks or spills.
Heat your stovetop coffee maker on low-medium heat.
Now that everything is assembled correctly, place your stovetop coffee maker on a stove burner set at low-medium heat. It’s important not to use high heat as this can lead to burnt or bitter-tasting coffee. Slow and steady heating allows for proper extraction of flavors from your chosen beans.
Wait for steam and listen for gurgling sounds.
As the stovetop coffee maker heats up, you’ll start to see steam rising from the spout and hear gurgling sounds. This is a clear indication that your coffee is brewing! It’s best to keep an eye on the process, as overheating can cause undesirable flavors. Adjust the heat accordingly if needed.
Remove from heat and let it sit for a minute.
Once the gurgling sounds have subsided, indicating that all the water has been pushed through the coffee grounds, remove your stovetop coffee maker from the heat source. Allow it to sit for about a minute before serving. This brief resting period helps settle any remaining sediments and allows for optimal flavor development.
Serve and enjoy!
After patiently waiting, it’s time to savor your freshly brewed stovetop coffee! Pour it into your favorite mug or cup, taking in its rich aroma and bold taste. You can enjoy it black or add milk, sugar, or any other desired flavorings according to your preference.
Using a stovetop coffee maker may seem intimidating at first, but by following these simple steps, you’ll soon become an expert in brewing delicious coffee right on your stove. So go ahead and give it a try – you might just discover a newfound appreciation for this traditional method of making coffee. Cheers!
Tips for Brewing the Perfect Stovetop Coffee with a Moka Pot
Preheat Water for Faster Brewing
To ensure a faster and more efficient brewing process with your stovetop coffee maker, it’s essential to preheat the water before filling the bottom chamber. This step helps to reduce the time it takes for the water to reach boiling point, allowing you to enjoy your cup of moka pot coffee sooner.
Start by filling the bottom chamber of your moka pot with cold water. Then, place it on the stove over medium heat. While waiting for the water to heat up, take a moment to grind your coffee beans to a medium-fine consistency. Once you hear or see that the water is starting to boil, remove it from heat briefly.
Now, carefully pour out the hot water from the bottom chamber and replace it with fresh, preheated water. This simple step will significantly speed up the brewing process and result in a more flavorful cup of moka pot coffee.
Use Medium Heat Throughout
Maintaining a consistent temperature throughout the brewing process is crucial when using a stovetop coffee maker. To achieve this, always use medium heat on your stove. High heat can cause the coffee to brew too quickly and may result in an overly strong or bitter taste.
Once you’ve filled the bottom chamber with preheated water and added your ground coffee into the filter basket, place it back onto the stove over medium heat. Allow gravity and steam pressure to work their magic as they push hot water through the coffee grounds and into the top chamber.
Remember not to rush this process by increasing or decreasing heat levels abruptly. Stick with medium heat from start to finish for optimal results – a rich and well-balanced cup of moka pot coffee.
Remove from Heat at Gurgling Sound
The signature gurgling sound is music to any moka pot enthusiast’s ears because it indicates that your coffee is ready. As the water in the bottom chamber heats up, steam pressure builds, pushing the brewed coffee upwards. Once you hear this distinctive gurgling sound, it’s time to remove the moka pot from heat.
Leaving the coffee on the stove for too long after this point can lead to over-extraction, resulting in a bitter taste. Promptly removing the pot from heat ensures that you capture all the delightful flavors and aromas of your freshly brewed moka pot coffee.
Now that you’re armed with these tips for brewing perfect stovetop coffee with a moka pot, preheat your water, use medium heat throughout, and listen for that satisfying gurgle. Enjoy every sip of your delicious homemade moka pot coffee!
Enhancing Your Coffee Experience: Variations and Techniques
Add Frothed Milk for a Homemade Latte or Cappuccino
One of the simplest ways to elevate your stovetop coffee maker experience is by adding frothed milk to create a homemade latte or cappuccino. This technique allows you to enjoy the creamy richness of these popular espresso-based beverages without needing expensive equipment.
To achieve perfectly frothed milk, start by heating your desired amount of milk in a saucepan over medium heat. As it warms up, use a handheld milk frother or whisk vigorously to create foam on the surface. The goal is to achieve a velvety texture with tiny bubbles that will enhance the overall taste and mouthfeel of your drink.
Once you have frothed the milk, pour it into your cup of freshly brewed stovetop coffee. You can opt for equal parts coffee and frothed milk for a classic cappuccino or more milk for a luscious latte. Experiment with different ratios until you find your preferred balance.
Experiment with Flavored Syrups or Spices like Cinnamon or Nutmeg
If you’re looking to add an extra kick of flavor to your stovetop coffee, consider experimenting with flavored syrups or spices like cinnamon or nutmeg. These additions can transform an ordinary cup of joe into a delightful sensory experience.
Flavored syrups are widely available in various flavors such as vanilla, caramel, hazelnut, and more. Simply drizzle a small amount into your brewed coffee and give it a gentle stir. The syrup will infuse its unique taste throughout the beverage, enhancing its aroma and sweetness.
Alternatively, sprinkle some ground cinnamon or nutmeg over your freshly brewed stovetop coffee grounds before brewing. As the hot water passes through the grounds during the brewing process, it will extract the warm and aromatic flavors from the spices, resulting in a deliciously spiced cup of coffee.
Try Different Beans or Blends for Unique Flavor Profiles
Another way to enhance your stovetop coffee maker experience is by exploring different beans or blends. Coffee beans from various regions and roasting levels offer distinct flavor profiles that can elevate your daily brew.
Consider trying single-origin beans from countries like Ethiopia, Colombia, or Brazil. Each region imparts its unique characteristics to the coffee, such as floral notes, fruity undertones, or chocolatey richness. Roasting levels also play a significant role in flavor development, ranging from light to dark roast profiles.
To truly appreciate the nuances of different beans or blends, opt for whole bean coffee and grind them just before brewing. This ensures maximum freshness and flavor extraction. Experiment with various combinations until you find the perfect match for your taste preferences.
Troubleshooting Common Issues with Stovetop Coffee Making
Excessive Steam Escaping
If you notice that there is excessive steam escaping from your stovetop coffee maker, the first thing to check is the rubber gasket. Over time, this essential component can wear out or become damaged, leading to steam leakage. To fix this issue, you will need to replace the rubber gasket. Luckily, replacement gaskets are readily available at most kitchen supply stores or online retailers. Simply remove the old gasket and install the new one according to the manufacturer’s instructions. This should help prevent any further steam escape and ensure a proper brewing process.
Burnt Taste in Your Coffee
There’s nothing worse than taking a sip of your morning coffee only to be greeted by a burnt taste. If you’re experiencing this issue with your stovetop coffee maker, it’s likely due to excessive heat during the brewing process. To rectify this problem, try reducing the heat on your stovetop burner while brewing your coffee. By lowering the temperature slightly, you can avoid scorching the coffee grounds and achieve a smoother, more enjoyable flavor profile.
Leakage from Your Stovetop Coffee Maker
Leakage can be frustrating when using a stovetop coffee maker but fear not – there’s usually a simple solution! The first step is to ensure that all parts of your coffee maker are tightly screwed together. Sometimes, loose components can cause leaks during the brewing process. Take a moment to double-check that everything is securely fastened before making another pot of delicious java.
If tightening all parts doesn’t solve the issue, inspect each component for any cracks or damage that may be causing leakage. In some cases, worn-out seals or valves could be at fault. If you identify any damaged parts, consider replacing them with suitable replacements from your manufacturer or trusted suppliers.
Remember that troubleshooting common issues with your stovetop coffee maker is a process of elimination. By addressing these simple solutions, you can enjoy a hassle-free brewing experience and savor every sip of your homemade coffee.
Now that you know how to troubleshoot some common problems, you can confidently use your stovetop coffee maker without any worries. Whether it’s replacing the rubber gasket to prevent excessive steam escaping or reducing the heat to avoid a burnt taste, these simple tips will help you overcome any issues that may arise. So go ahead, brew yourself a fresh cup of coffee and start your day off right!
Mastering the Art of Using a Stovetop Coffee Maker
Congratulations! You have now learned all the essential steps and tips for using a stovetop coffee maker like a pro. With this newfound knowledge, you can brew your own delicious cup of coffee at home anytime you want. Remember to start by understanding your Moka pot and choosing the right grind size for optimal flavor extraction. Then, follow our step-by-step guide to brewing the perfect stovetop coffee. Don’t forget to experiment with different variations and techniques to enhance your coffee experience even further.
Now that you’re equipped with the skills to make amazing stovetop coffee, it’s time to put them into practice. Grab your favorite coffee beans, grind them just right, and enjoy the rich aroma and taste of freshly brewed Moka pot coffee. So go ahead, embrace your inner barista, and start brewing!
FAQs
Can I use pre-ground coffee in a stovetop coffee maker?
Yes, you can use pre-ground coffee in a stovetop coffee maker. However, for the best flavor and aroma, it is recommended to grind your beans fresh before each brew.
How long does it take to brew coffee with a stovetop maker?
The brewing time can vary depending on factors such as heat intensity and desired strength of the coffee. On average, it takes around 5-10 minutes for a full pot of stovetop-brewed coffee.
Is it necessary to preheat the water before brewing?
Preheating the water is not necessary but can help speed up the brewing process. It also ensures that the water reaches an optimal temperature for extracting flavors from the ground coffee.
Can I use any type of stove with a stovetop coffee maker?
Yes, you can use any type of stove, be it gas, electric, or induction, as long as the bottom of your stovetop coffee maker is compatible with the heat source.
How often should I clean my stovetop coffee maker?
To maintain the quality and taste of your coffee, it is recommended to clean your stovetop coffee maker after every use. This prevents any residue or oils from building up and affecting future brews.